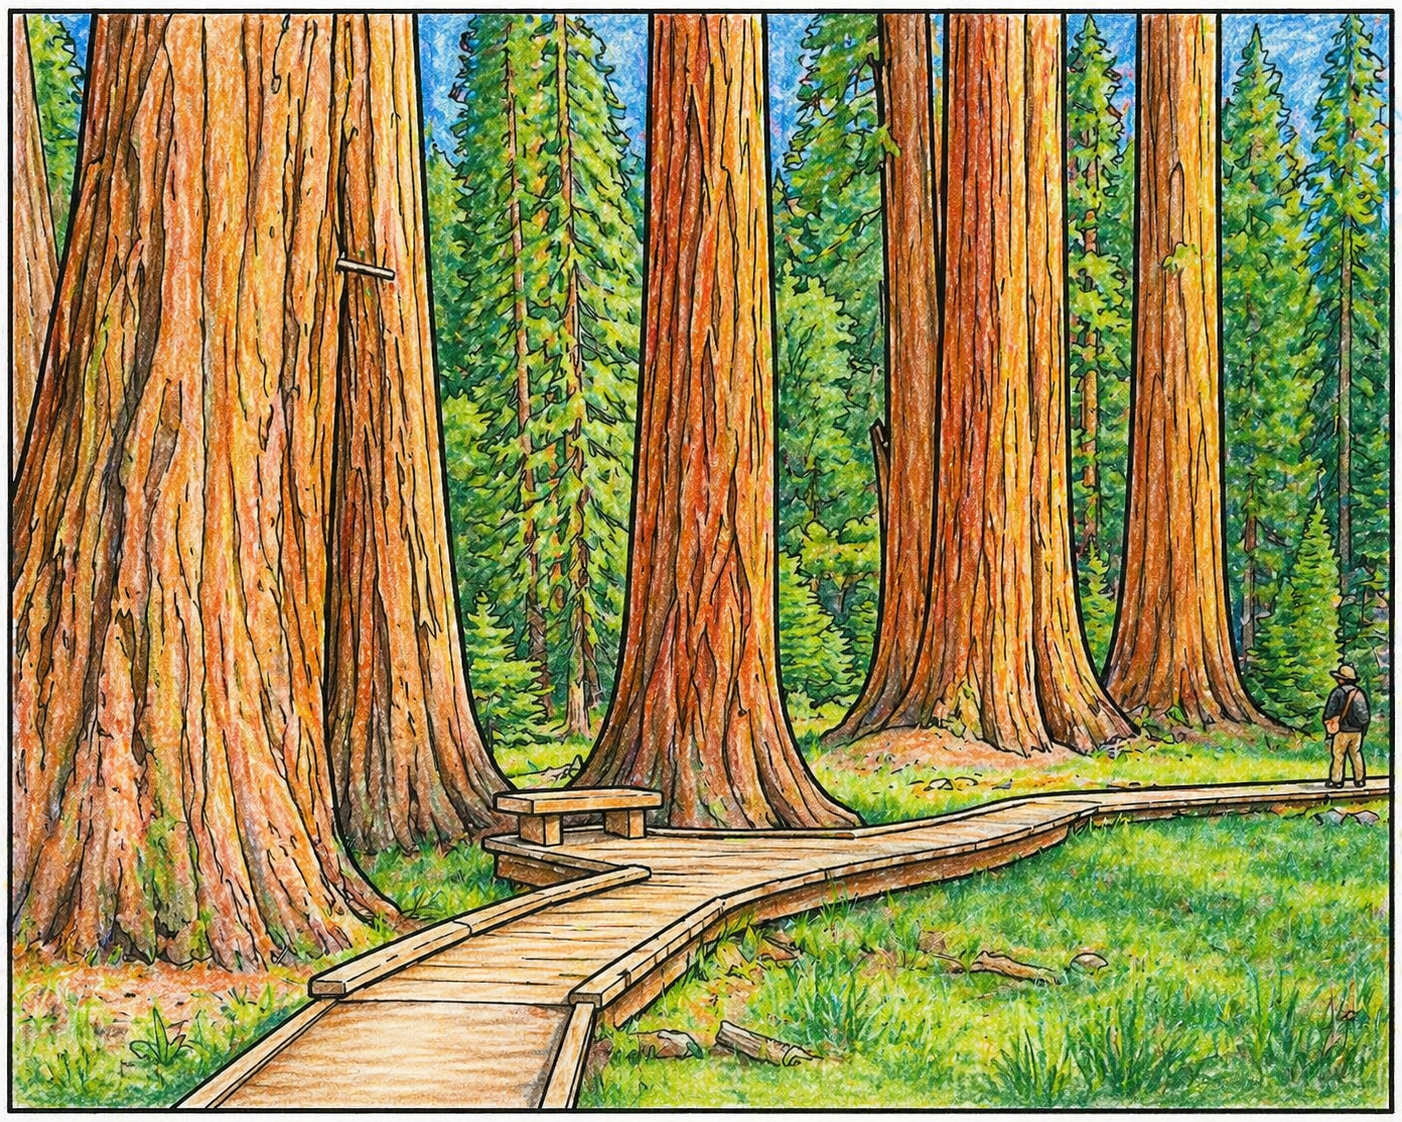
Blending is the process of mixing two or more colors to create a smooth, seamless transition or a brand-new shade. It’s the secret to making your coloring look realistic, vibrant and professional. Note how colors are blended in the tree bark and needles and the grass in the picture above.
There are several blending techniques you could use, especially with colored pencils:
• Layering: This is the most fundamental method. Start with very light pressure, adding multiple layers of color on top of each other. The more layers you add, the smoother the result becomes.
• Burnishing: This involves applying heavy pressure with a pencil (either a color or a colorless blender) to “grind”” the pigments into the paper’s texture. This removes all white spaces and leaves a glossy, painterly finish.
• Dry Blending Tools:
-
- Colorless Blender Pencils: These have no pigment and are designed specifically to squash and move existing color around
- White Pencil: A budget-friendly alternative that blends colors while slightly lightening them.
- Paper Towels or Cotton Swabs: Use these to gently smudge and soften pencil strokes for a more diffused look.
- Colorless Blender Pencils: These have no pigment and are designed specifically to squash and move existing color around
• Wet Blending (Solvents): Chemicals like baby oil, rubbing alcohol, or odorless mineral spirits (like Gamsol) can dissolve the wax or oil binder in your pencils. This allows the pigment to flow and blend almost like paint.
Tips
• Keep a Sharp Point: Dull pencils and crayons can’t reach the tiny “tooth” (grooves) of the paper, leading to a grainy look.
• Use Circular Motions: Instead of back-and-forth strokes, use tiny, overlapping circles to distribute pigment evenly and avoid harsh lines.
• Follow the Color Wheel: For the smoothest transitions, blend “analogous” colors—those sitting next to each other on the color wheel (e.g., yellow, orange, and red).
• Pressure Control: Start light and only increase pressure once you are sure of your color placement.