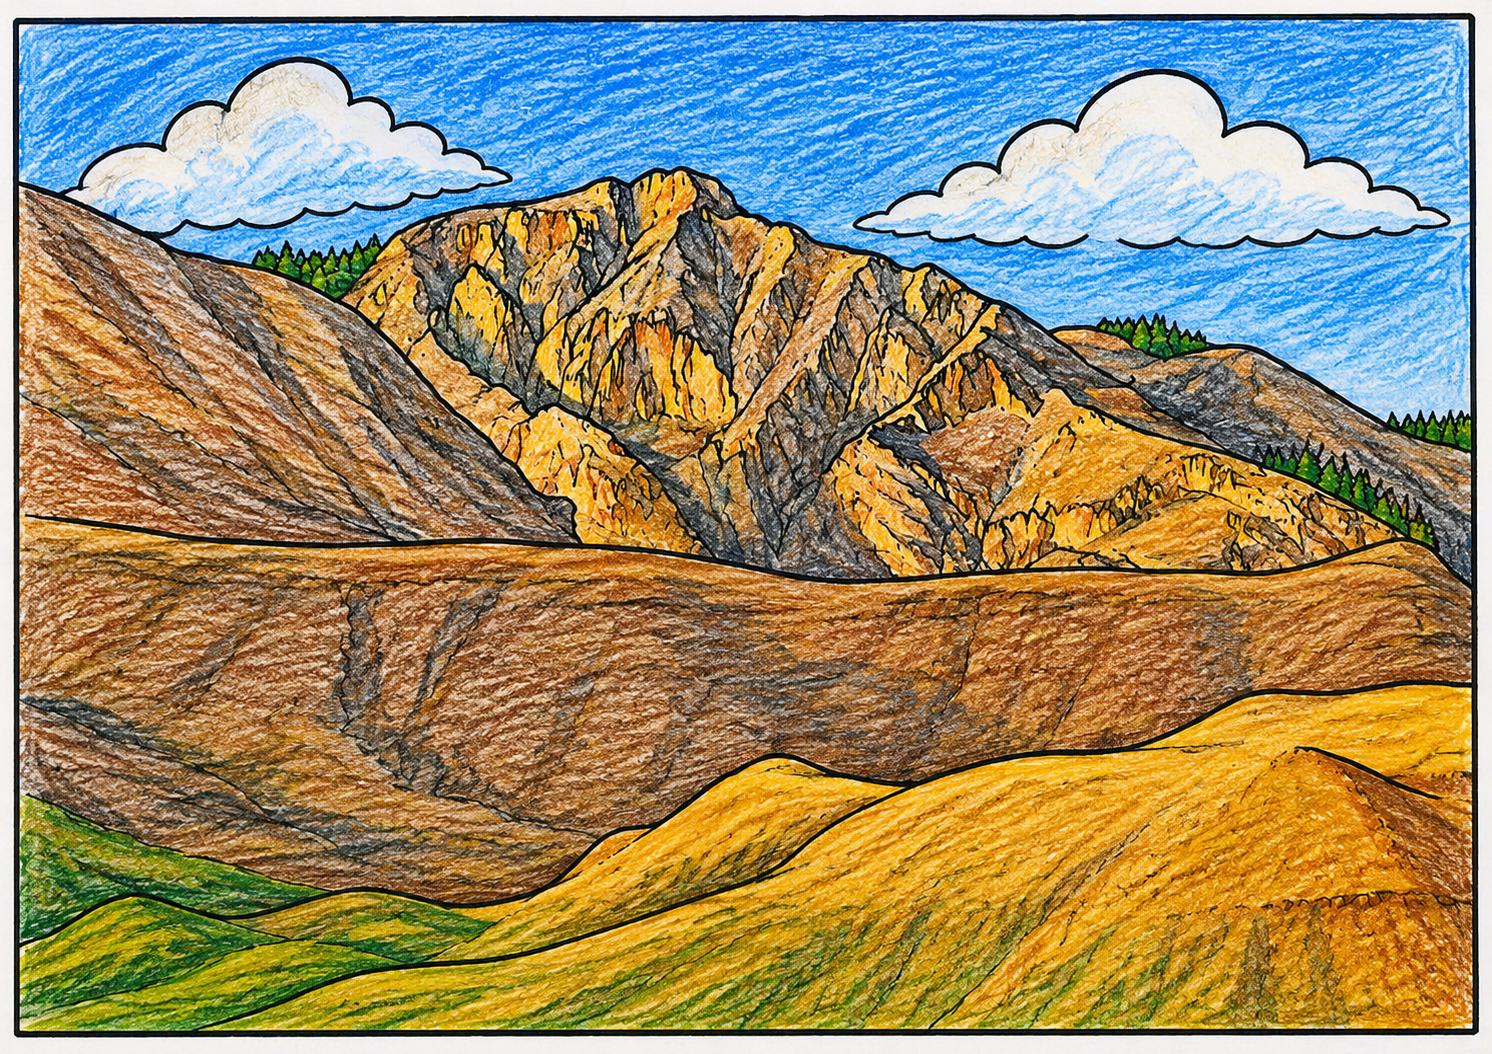
Shading in a coloring book adds depth and makes 2D drawings appear three-dimensional. The core principle is changing the “value” (lightness or darkness) of a color based on an imagined light source. Note how the following techniques were used in the above coloring book page.
Identify Your Light Source
Choose a single point where light is coming from, such as the sun or a lamp.
-
- Highlight Side: Areas closest to the light source should be the lightest.
- Shadow Side: Areas furthest from the light should be the darkest.
- The “Dot Trick”: Draw a small pencil dot on your page as a reference for your light source to help visualize where shadows fall.
Basic Shading Techniques
-
- Pressure Control: This is the easiest method. Apply light pressure for highlights and gradually increase pressure for darker shadows.
- Gradients: Use circular motions to blend strokes together, moving from dark to light to create smooth transitions without visible lines.
- Layering: Apply a light base color over the entire shape, then add more layers of the same color (or a darker shade) in shadow areas.
- Overlapping Colors: Layer different shades, like a medium green over a light green, to build depth.
Advanced Shadowing Techniques
-
- Opposite Colors: For deep, realistic shadows, layer a small amount of a complementary color (the opposite on the color wheel, like purple over yellow) before reapplying your base color.
- Cast Shadows: Add shadows directly underneath or behind objects to make them look like they are sitting on a surface rather than floating.
- Texture Shading: Use techniques like stippling (dots) or cross-hatching (intersecting lines) to add dimension and texture to specific areas.
Pro Tip for Smooth Blending
To achieve a polished look, use a white crayon or a colorless blender over your shaded areas. This burnishing technique softens the transitions and fills in the tiny white gaps of the paper